“BOUNCING SPACE” aims to create the relationship between the concept of sound and motion. From our expectation, moving objects usually produce sound in real, a user creates motion of the primitive objects and each object generates sound. The second concept came from the reverse of this general idea. It is “from sound to motion.” Every moving object base on simulation of physics via Open Dynamics Engine.
1. Basic Concept
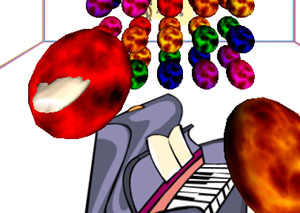
This project is an individual work about space, sound, and motion. Within small cubic space, user interacts with dozens of flying balls and boxes to create various spacial sound and realistic motion(movement). Main concept of this project is to give user the metaphor to translate the relationship between sound and motion. The basic seven colors from spectral colors such as red, orange, yellow, green, blue, deep blue, and purple are mapped onto the privitive objects to emphasize the connection of single sound tone.
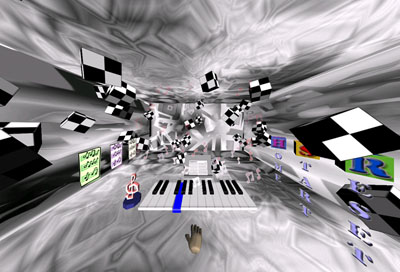
This application has three stages. The first is initial environment that includes two icons of other stages. The second is room 1 which represents the concept of “From motion to sound”. The last is room 2 which describes “From sound to motion”. User can select(click) the icon to enter each room environment from initial stage.
ROOM 1
The way how to make motion: move the colored balls !!!
The way how to make sound from motion
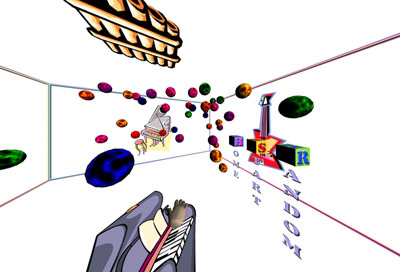
: As balls move all around the space consisting of 5 different wall, some of them will collide against the wall. Each wall including ceiling and floor has its own musical instrument such as piano, wood bass, guitar, banjo and pan flute. At the moment of collision, ball makes the sound of a single tone of musical instrument which is assigned to that wall. Every ball has its own sound tone. So, a wall will decide instuemnt and ball will decide the tone.
ROOM 2
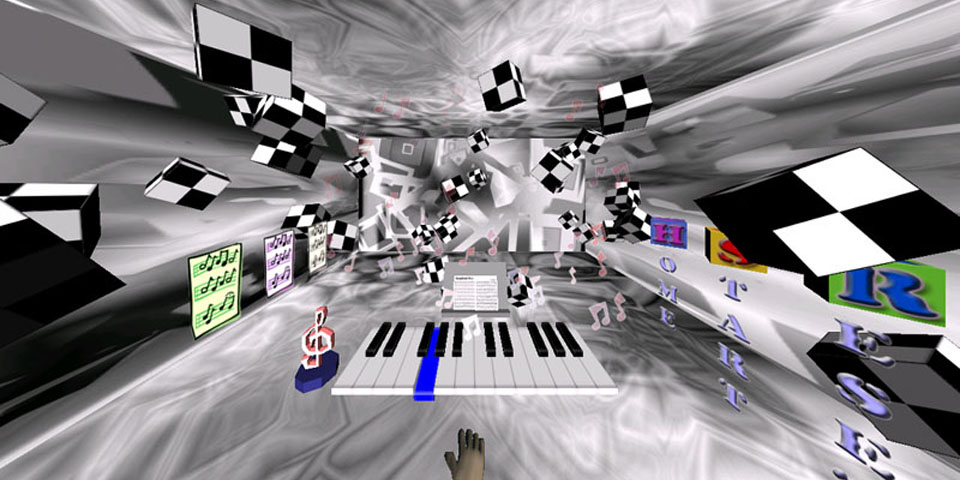
The way how to make sound: play piano or play music note automatically by piano
The way how to make motion from sound
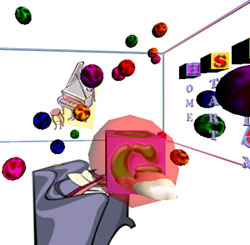
: When user plays piano, each piano key will send message to a certain box that linked to one key tone. Once the box receives hit message from piano key, it changes its color, plays sound, and get random force to generate movement. Color scheme is same as the room 1.
2. System Environment
Redhat Linux 7.3 Operating system
YGDRAGIL ver. 0.1.11
ODE (Open Dynamics Engine) Library
3. Initial Storyboard
4. Video Document
This movie clip was originally shot through the computer screen(simulator mode). (14:26)
5. Scene Screenshots
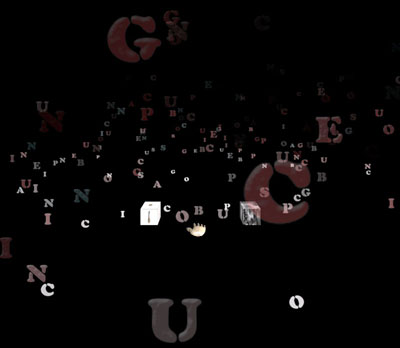
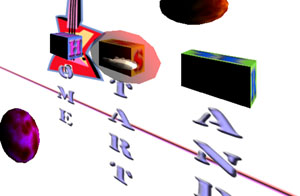
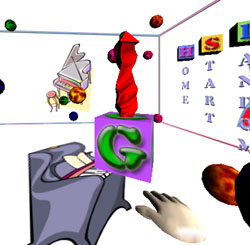
Here are four screenshots which show the introduction panel, initial environment, room1, and room2.
Click on the image to see larger one.
Intro Panel Initial ………………………………………. Environment
Room 1 ……………………………………………… Room 2
6. Details (about interactions)
– Basic Interaction
This application only uses left button(button1 in wanda controller) to click, grab, move, and throw objects in the environment. When application is loaded, you encounter introduction panel which includes project name and developer information. Click button1 to start initial environment.
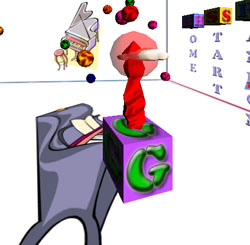
If any object* in the application is available to be clicked, you can see a sort of the bound sphere(red colored half transparent object) and hear of entering sound when user hand intersects the object.
* Exception:
In room1, balls don’t have bound sphere nor enter sound.
In room2, musicnotes in leftside don’t have bound box becuase of sorting of transparent objects.
– Initial Environment Interactions
As an Initial Environment, there are two icons to enter one of the room. When you locate your hand near the icon, bound sphere will appear and then you can click(button1) to enter. Once you click it, the icon will rotate and be scaled up to the same size as the room has.
– Room1 : From Motion to Sound
The main interaction of this room is to make balls move to generate sound. Here are two ways to do this. One is grab and throw the ball directly. The other is to use gravity controller which set the gravity vector to dynamics node.
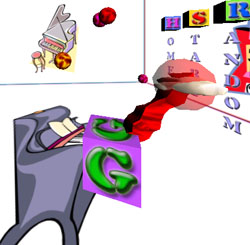
As a common controller, there are three icons – Home, Start, Random. If you click these, you can go back to initial environment(Home icon), toggle(start/stop) dynamics simulation(Start), and randomize position and speed of all balls(Random).
Note: Once you grab a certain ball, that ball will be removed from dynamics engine during your grabbing. This means that you can not make this ball collide agains any other ball nor wall. Only when balls fly, they make collisions.
To throw the ball, first move your hand to intersect the ball object and click(hold your button pressed). Then move your hand to desired direction and release the button. Application will calculate movement speed and direction at the moment of release.
To use common controller, just do the same way(clicking) you did at the icon in the initial environment.
Gravity controller locates in the center of the room. To activate the controller, click the gravity icon. Gravity arrow will pop up right after you clicked the icon. As you intersect your hand with arrow head, you see the bounding sphere and you can drag and drop the arrow head as you want to produce the gravity. The gravity will be generated based on the direction and size of arrow itself. If you want to zero or deactivate the gravity of dynamics node, simply click the gravity icon one more time. Clicking the icon will toggle the gravity arrow as well as gravity parameter of dynamics node.
– Room2: From Sound to Motion
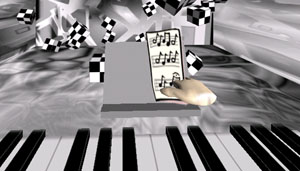
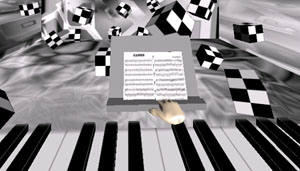
The main interaction of this room is to play piano by your hand itself or play the music note to generate movement of checker boxes. The common controllers are almost same as room 1 only except Reset control instead of Random. Reset controll will re-initialize room environment(stop playing and stack boxes in initial position).
Above two images are showing the way to play the piano. Hit the key with your hand(intersect). You don’t need to use any button.
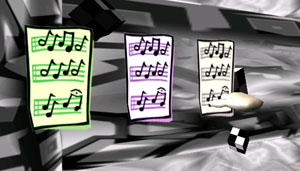
Following images show how to play music note.
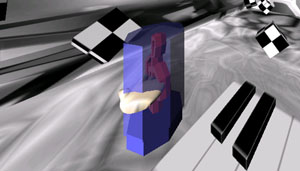
#1 – Grab music note (Click button1. You don’t need to hold it pressed. Just click once.)
#2 – Move note to stand (Navigate to music note stand and move the note close to stand.)
#3 – You see the music note unfold.(Once the stand detects the note, it disappears and you get new one on the stand and it’s unfolding.)
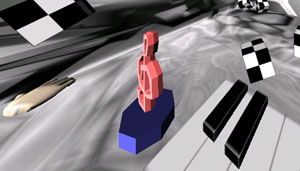
#4 – Clef’s material change from white to red repeatedly. (This means that piano is ready to play the note.)
#5 – Click the clef to toggle start/stop playing
When the piano start playing the music note, it produces a bunch of note particles and play by itself automatically.
7. Future Work
– Support Network collaboration
Re-design initial environment to use teleport to a room instead of scaling the icon to share the room space.
Make user Avatars.
– Support YGDRASIL 0.4
– Change the walls of room1
Make texture grids to give a color change on each part of wall when ball collides against that part.
8. References
– YGDRAGIL (www.evl.uic.edu/yg)
– ODE (Open Dynamics Engine, www.ode.org)
– Some images from MS ClipArts library
– Some sound effects source from AudioSparx (www.audiosparx.com)
